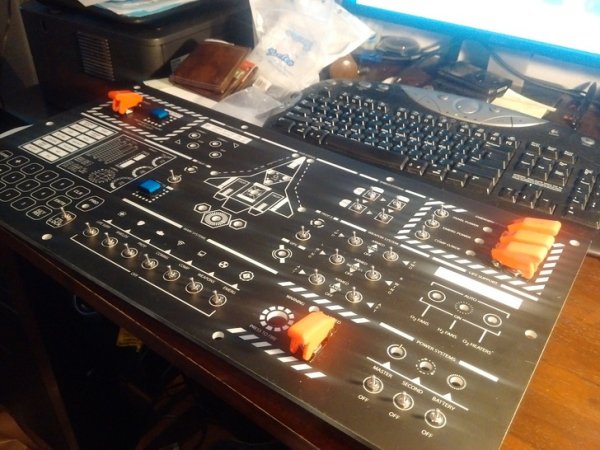
Imgur user, Cody2084, wanted to create a great Christmas gift for his two nephews. He took it upon himself to make two light up spaceship panels for them.
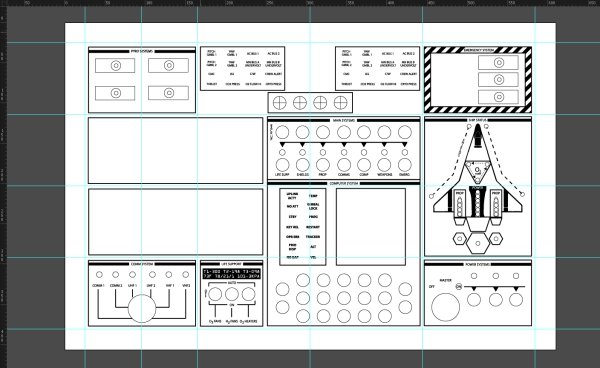
“I decided to start designing something I would like to play with. Not knowing where to start, I used Apollo Command Module panels for reference, and my own experience with panels working as a Loadmaster on C-17’s.”
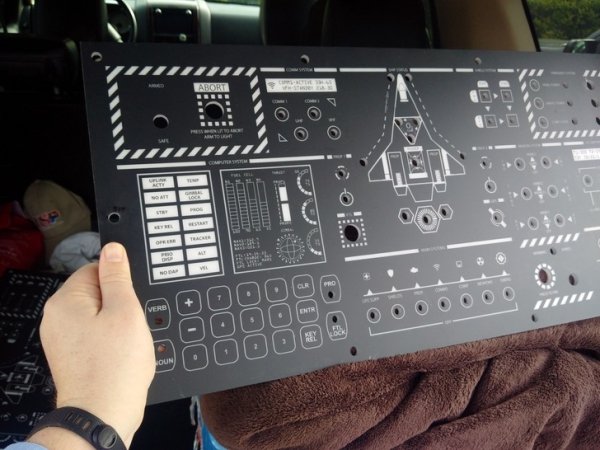
“Took a day to get both panels cut ( I made 2 panels exactly the same for each nephew, because if you get boys something different they fight).”
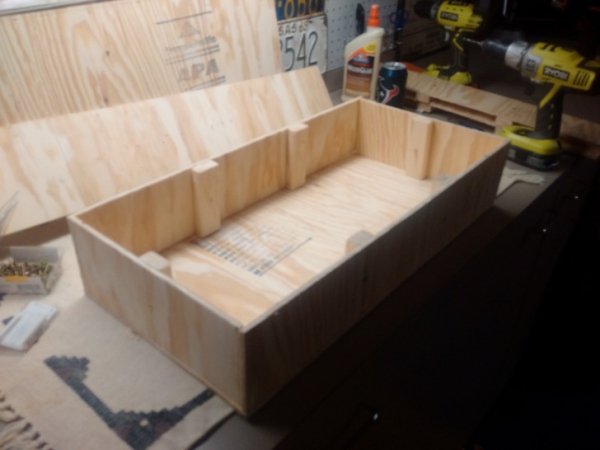
“I called dad and asked for some help, I needed to make something to mount the panels on, but it had to have room to put electronics in. Dad has a nice shop in his garage, so I sketched up some designs and he had the wood cut to spec.”
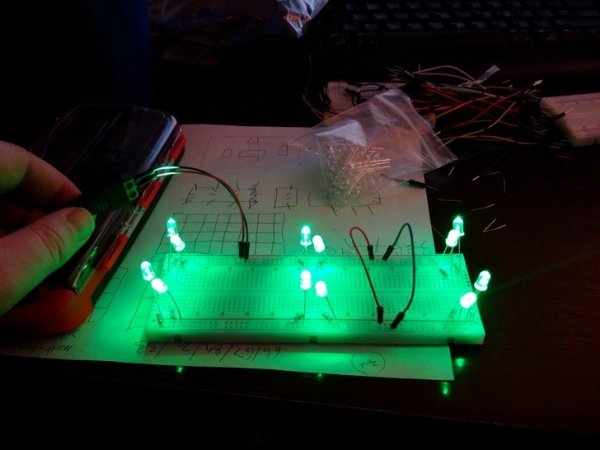
“At the last minute I decided to order 6 breadboards for the electronics. I am so glad I did. It made everything easier. (side note: I didn’t really understand I was ordering LED’s that were something like 20K lumens….. once I got them lit up I immediately was all “I SEE THE LIGHT!”)”
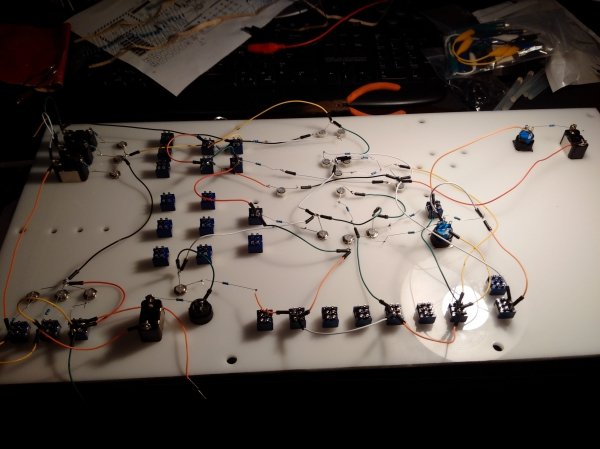
“This is the back of the first panel I put together. I learned so much on this first one. It looks so messy. The second one looks really slick and organized. Basically, I learned how to use solder, and the lesson of keeping wires orderly as you go. Hot glue helped a lot.
(I have been asked for the spreadsheet I used for the wiring logic…. It was in my head… it was just LED’s lighting up, no arduino or any computer stuff).”
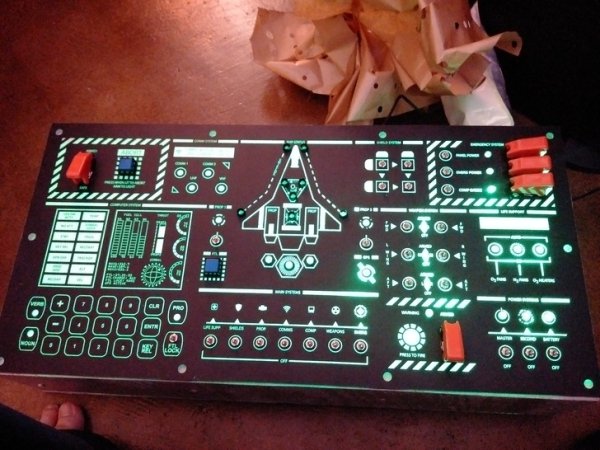
“The power and alignment test was perfect. Just looking like this I was happy. 10 year old me could play with that for hours.”
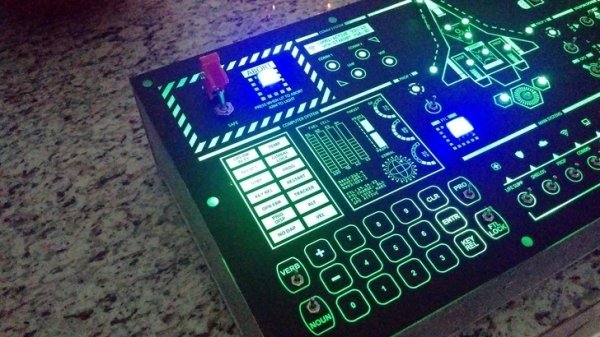
“Another angle of the test lighting, and i left it running for 12 hours to ensure it wouldn’t catch fire…. yeah i was paranoid I messed something up.”
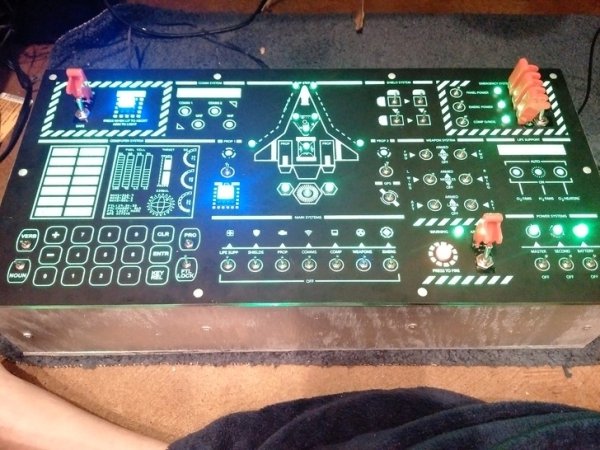 “Once I was happy, I glued all the circuit boards down, mounted the DC connector to the back, and plugged it in (takes a 5v 2a DC converter). All the switches worked in the appropriate logic. EXAMPLE: When you turn Weapon’s power on, the “WARNING ARMED” light comes on the weapons panel. This allows you to place the fire button into the “ARM” position which now lights it up red. etc.”
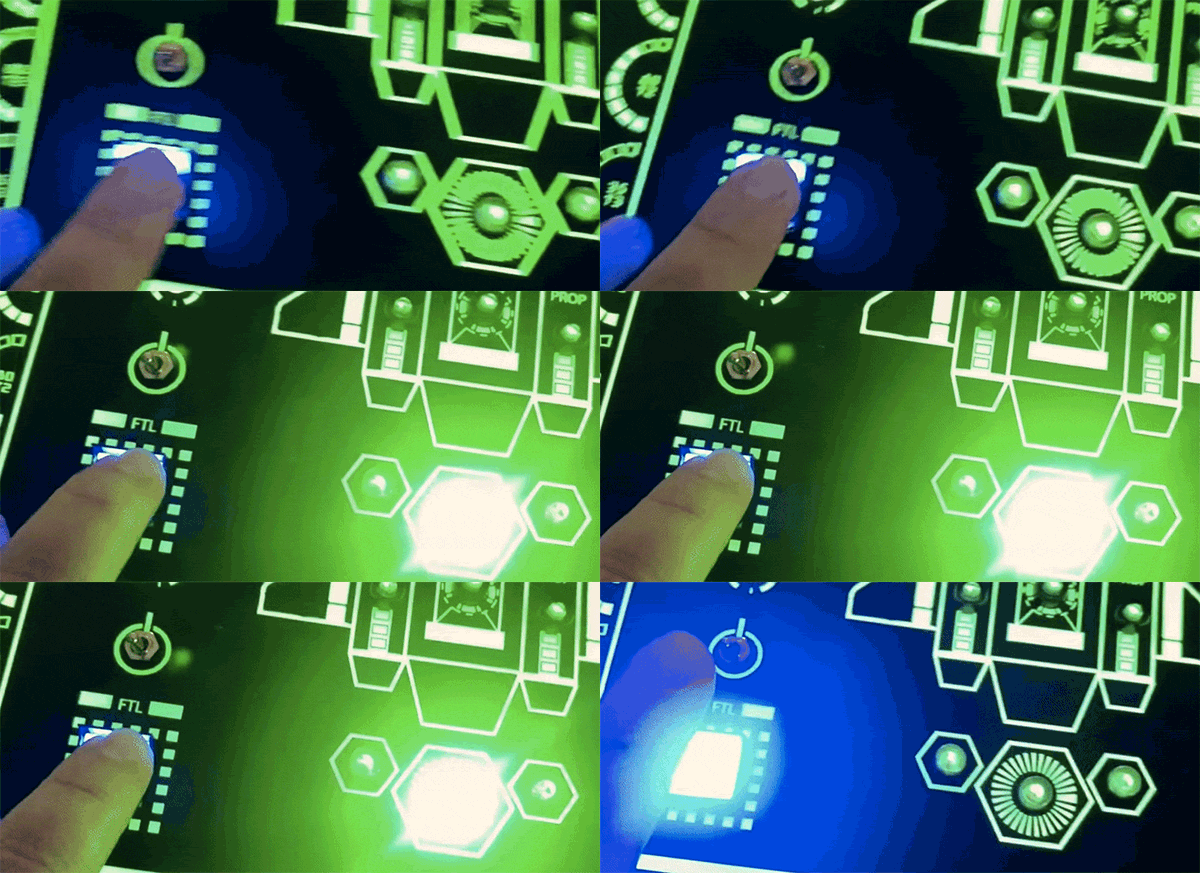
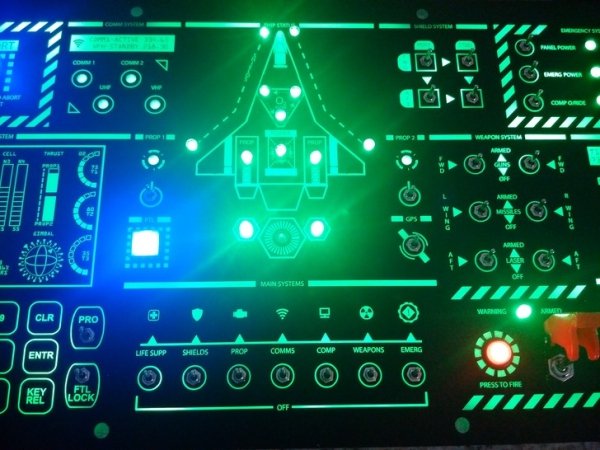 “The ship status panel: each LED has a corresponding switch that deals with that system. Once you lock the FTL switch, the FTL button lights up blue. Pressing the FTL button ignites the FTL drive.”
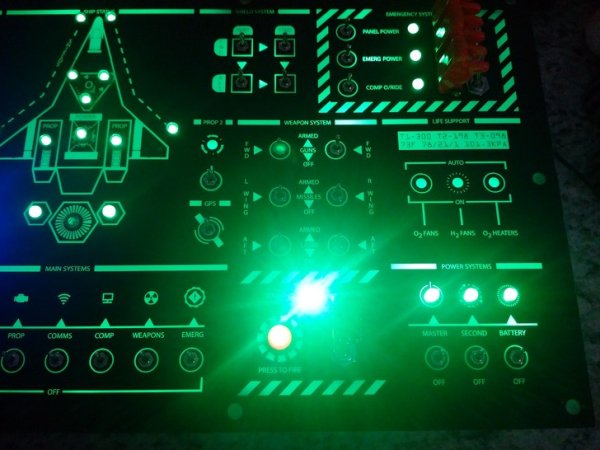
“You can see the Master power switch, this turns it all off and on. Second and Battery are dummy switches that just control their corresponding LED. You will also notice some missing switches, not all of them got here in time for xmas, but it doesn’t take away from the effect.”
 Barnorama All Fun In The Barn